This is
the first Klein bottle I knitted.
This is
the first Klein bottle I knitted.
I used to have pictures here of some Klein bottles I'd done with boundary, but they had the same inaccuracy as the self-intersecting one above. One was a pretty one I'd given to Carolyn. Shortly after realizing my error, I figured out a new and better way to knit Klein bottles with boundary, and promptly made a replacement for her:
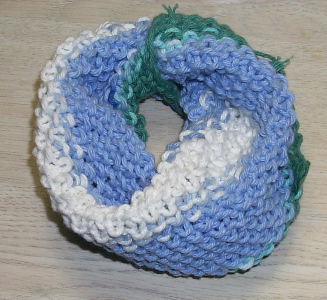
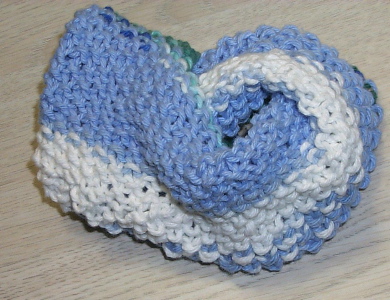
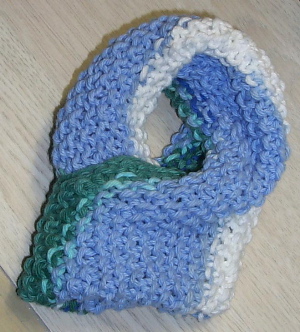
So, I guess this bears some explanation. The standard polygon representation of a Klein bottle is a quadrilateral with each pair of opposing sides identified; if we put arrows on the sides to indicate the fashion in which we identify the sides, we have one pair of arrows going the same direction and the other pair of arrows going in opposite directions. In any case, all four corners of the polygon become identified when you construct the Klein bottle. The problem with my previous bottles-with-boundary was that if one looked at the rectangle indicated by the metric induced by the knitting, my corners were incorrectly glued.
This problem is resolved with my new method of knitting the Klein bottle. Oh,
okay, instructions are provided at the bottom of this page... basically, I knit a
Möbius band and identify opposing points on the boundary. This is equivalent
to taking the connected sum of two projective planes; you can see them in my
three-colored Klein bottles (Carolyn's, above, and mine, below). It might be
easier if you think of taking a projective plane and adding a boundary, so you
get a Möbius strip. Now sew two of these together along their boundaries.
Two of the three colors represent inner strips of the Mobius bands, and the
third color covers the outer parts and boundaries of the Mobius bands. A prettier example of this is the striped Klein bottle knitted for my American Scientist article.
If you'd like to mystify people, make a Klein bottle and a projective plane, approximately the same size, from the same yarns, and with the same striping. Then ask folks whether these are the same or different objects.
Here's one I knitted for myself, in three colors:
Here's one with a single stripe...
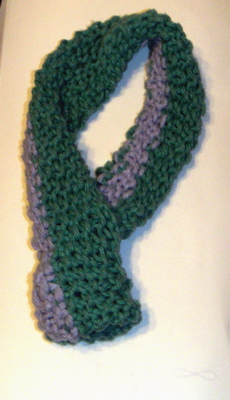
...don't you love the infinity sign watermark in the paper beneath? (lower-right-hand
corner, hard to see...)

The prettiest Klein bottle I've made is shown
here.
A fairly unattractive Klein bottle, but one with more mathematical interest is here: it instantiates the smallest snark polyhedrally embeddable on the Klein bottle.
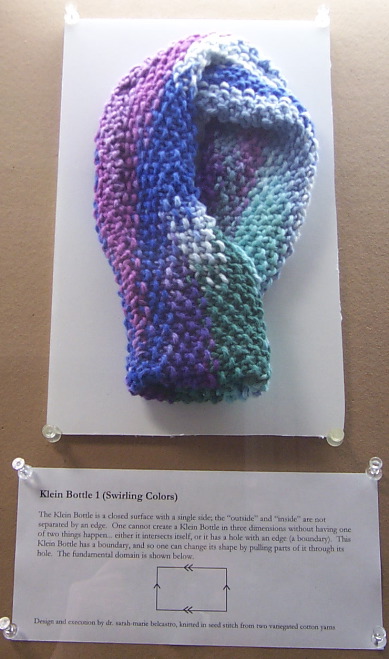
Here's one with exactly two colors (of variegated yarn)---it was part of a
Math Awareness Month (Math and Art) 2003 exhibit.
Finally, here is the Klein bottle hat I knitted for my former student Aaron as a graduation present. It was started before I had the revelation about how to better knit Klein bottles, so it has the same error as my old Klein bottles (only less so because I was able to compensate when finishing it... I thought at first I could do it completely correctly; however, my initial stripe design doomed me to a small error anyway). The Möbius-band-y stripes almost compensate for that.
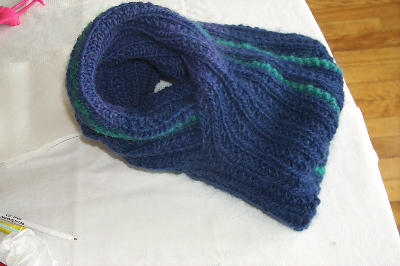

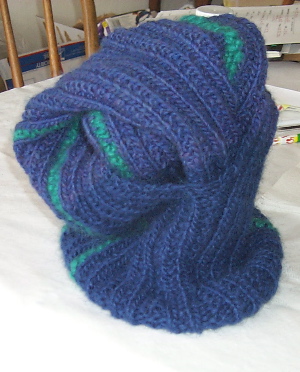
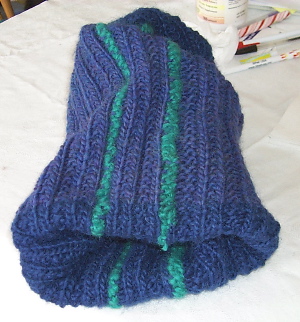
Okay, so as you can also tell from the above pictures, I ran out of yarn halfway through and had to switch. I'd been using this lovely Icelandic Lopi left over from a sweater I'd knitted about 10 years before, and thought there was enough. Unfortunately Reynolds didn't make that heathered color any more, so I got the closest color possible... even more unfortunately, Reynolds doesn't make soft Lopi any more. Now it's rough and yucky. The point of the following two pictures is so that you can see how seamless the final graft is. Aside from the color change, there's no problem with the stitch-pattern... reversible (meaning identical on the reverse) patterns are the way to go for nonorientable surfaces.
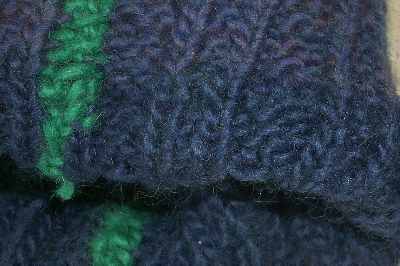
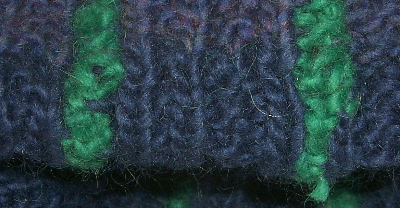
And certainly, this pictures of Aaron himself wearing the hat, in Russia, near
buildings with consonant shapes, is priceless.

Begin by knitting a Möbius band, but knit about 20 rows and don't cast off as you're told near the end of the instructions.
Transfer half of your stitches to a second circular needle. What you're basically
going to do is Kitchener
(graft) the stitches on one needle to those on the other. If you look at a few-stitch-wide
strip of your band, you can see how the loops at the top of two adjacent stitch-columns
can be Kitchenered to the bottom of the loops at the bottom (and 1/2 stitch
to the right or left) of these columns. If you just match those up and start,
you'll be fine.
Now: this is tricky, for two reasons. (1) You have to do your Kitchener in a
knit-purl sort of way, so that you get a consistent pattern instead of an obvious
seam. Sorry, I can't explain how to do that. I re-figure it out every time I
do it. (2) There are those dang needles in the way. I usually pull the needles
so that all the stitches are on the middle, skinny parts of the needles, then
start Kitchener-ing, and then every 10-15 stitches, pull the needles out of
the object a bit.
You'll Kitchener until you seem to have just a hole around another part of the Klein bottle left. Now you can cast off. As with a Möbius band, there are three tasks that remain: knit in the end of the yarn, get rid of the scrap yarn (if you used any), and knit in the beginning of the yarn. If I use scrap yarn, I usually have to cut it every 3 - 4 stitches or so. And, when knitting in the beginning of the yarn, look carefully at your stitches so that you don't create a hole or piece of seam.